HOMEOWNERS: 750 sq. ft. minimum to receive a quote or sample.
Install guides will not show you the finer details of a standing seam metal roof installation. They don't show you how to bend the panels at the eave or how to cut and finish that panels at the corners. This installation series shows you all of the steps from start to finish for your new roof.
The Metal Roofing Learning Channel, brought to you by Western States Metal Roofing, has created you a new video series.
Step By Step Instructions For Standing Seam Metal Roofing Installation.
Our goal is to walk you through a real standing seam roof installation.
By the end of this series you will know how to install standing seam metal roof panels and trim including:
Get step-by-step installation instructions delivered to your inbox and discover how to install standing seam like a pro.
Subscribe To The Metal Roofing Learning Channel On YouTube & Don't Forget To Turn On Notifications
or
The first step when installing a metal roof is the installation of the roofing underlayment. The most popular and the best underlayment that we sell is a self adhesive synthetic roofing underlayment
In this video we cover Sharkskin Ultra SA installation.
The first step when installing a metal roof is the installation of the roofing underlayment. If you decide against using a self adhesive underlayment we suggest a high quality nail down synthetic underlayment.
In this video we cover Sharkskin Ultra installation.
Eave flashing is installed before the standing seam panels and after the metal roofing underlayment.
Eave trim with bullnose drip edge is a simpler installation that requires less parts than a traditional eave with joggle cleat. The bullnose functions as the joggle cleat.
You should NOT use this if:
Eave trim with joggle cleat requires additional trim parts versus eave with a bullnose drip edge. Therefore, it will take longer to install.
There are three reasons in which you would use this type of eave vs a bullnose:
Box gutters play an important role in protecting your home from water damage. They help stop flooding at your foundation and prevent exterior walls from staining due to water run-off.
In this video we will show you how to install:
Learning how to start a roof straight is one of the first steps that's required in a metal roofing installation. If you don't learn how to square the metal roofing panels correctly, they will drift off at an undesirable angle.
In this video, discover the 3, 4, 5 triangle method. This will allow you to properly square off a roof before installing your standing seam panels.
Before you begin installation of the standing seam metal roofing, you will need to plan ahead for the panel layout.
You need to plan the metal roofing panel layout so that the pipe penetrations land in the center of the panels. The first and last sheet should also be the same width.
You will have to cut the first and last piece of standing seam so that your roof looks even on both sides.
In this video we will show you how to cut the panels and use a Woku roller bender to bend the male leg upwards.
This is the first video in the series in which we install standing seam panels. It covers:
Prior to watching this video you should have:
Gable trim is installed after the eave trim and the standing seam panels. It's normally the second piece of trim that's installed on your roof.
The 4 Piece gable is our most popular gable detail for standing seam. When compared to a 3 piece gable it's a much easier installation.
This video will use a 3 piece gable detail that's designed for the professional contractor. It's not recommended for a homeowner.
If you're not a professional installer, we recommend the 4 piece gable detail.
Z metal is used when metal trim needs to be attached to the top of a standing seam panel. The zee metal provides the trim with something to attach to and creates a fixed point of contact.
It's used most frequently at the ridge, peak, transition, and endwall.
Ridge cap is the typically the last piece of metal roofing trim that's installed on a standing seam metal roofing installation.
In This video we cover:
Vented ridge cap allows warm and damp air to leave the attic.
In This video we cover:
Peak trim can also be referred as a high side eave. This type of trim is used when you have a single slope roof.
In this video, we will install a fixed peak flashing and will cover:
Transition flashing is installed when you have a standing seam metal roof that has two different pitches. The transition trim is placed where the two pitches meet to prevent water intrusion.
Low to high transition trim is a detail that's commonly found on barns or barndominiums. It's a different installation detail versus a high to low transition.
Step by step instructions that show how to cut the valley trim, finish the valley flashing, and standing seam roofing panel layout at the valleys.
This is the preferred installation detail for an open valley. It attaches the valley to a joggle cleat and eliminates any exposed fasteners.
In this video we will show you how to cut the standing seam panels and how to attach to the joggle cleat.
A fixed valley with exposed fasteners is an installation method that's rarely used by professional installers. This detail is sometimes used by homeowners on a DIY installation.
If you have metal roofing panels that are running up into a wall, you will need to install end wall and side wall flashing to help control the water runoff. It will prevent roof leaks at this vulnerable location.
End wall flashing must be installed after installation of the sidewall trim.
Downspouts are a roof drain pipe that will divert water from the gutter. They're attached with an outlet that penetrates the gutter and is fastened to the downspout.
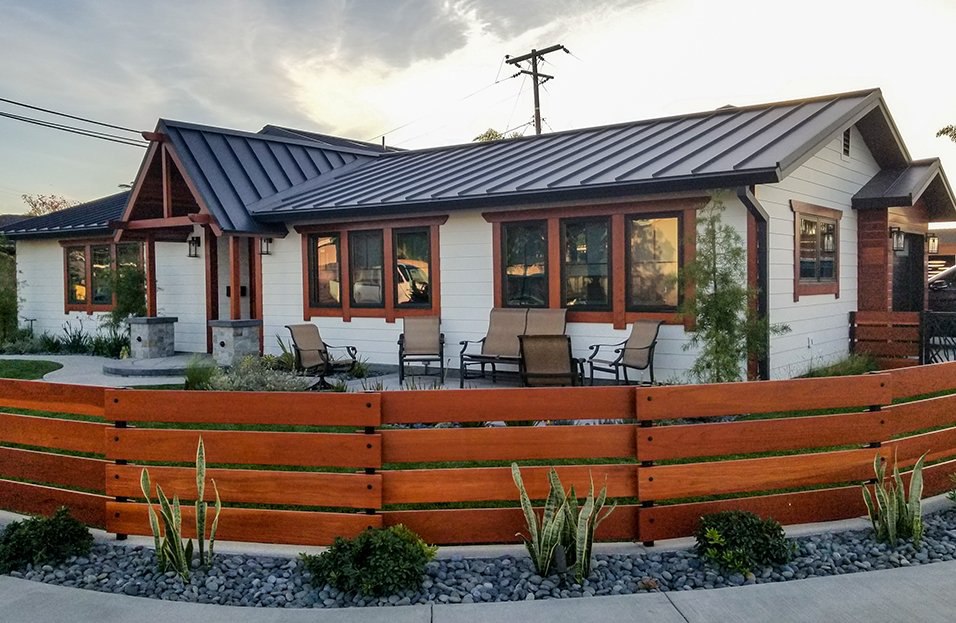
Standing seam metal roofing is considered one of the most durable and maintenance-free types of metal roofing materials on the market. A standing seam metal roof provides energy reduction benefits without sacrificing style. The clips and screws fasten the panels tightly to prevent leaks while each fastener is concealed to give the appearance of a sleek and streamlined finish. Once installed, its dramatic shadow lines run continuously from ridge to eave, accenting the pitch and plane of every roof angle.
The metal roofing learning center is your best resource for videos and blogs about metal roofing, metal siding, trim, installations & much more! Subscribe today and enjoy our weekly newsletter sent direct to your inbox. Simply fill out the form and we will do the rest.
Before you discover how to install standing seam metal roofing, it's important to fully understand the roofing system. Here's some useful links.
Are you trying to determine which metal roofing style is best for you?
This video will discuss whether standing seam metal roofing or corrugated is the best type of metal roofing system for your house.
A deep dive into the factors that determine the price of a standing seam metal roof.
At the end of this video, you will know the total price of a standing seam roof.
Discover the benefits of a standing seam roof.
By the end of the video you can determine for yourself, is a standing seam roof worth the money?
Are you only looking to purchase standing seam roofing?
You're in the right place, click on the button below to skip all the videos and go directly to our quick and simple online quote form.